

In most cases, transactions are grouped according to their categories, but what if you wanted to group them according to a specific event or purpose? Events (formerly known as Tags) allow us to group transactions for any purpose, such as a trip, spending for someone, or a party. In HappyMoney, we can attach up to five events to a transaction.
Example 1: Let’s say you give your parents money every month. You can create an event for your parents. To track how much you have spent for your parents, you will attach the event Parents to every transaction you make.
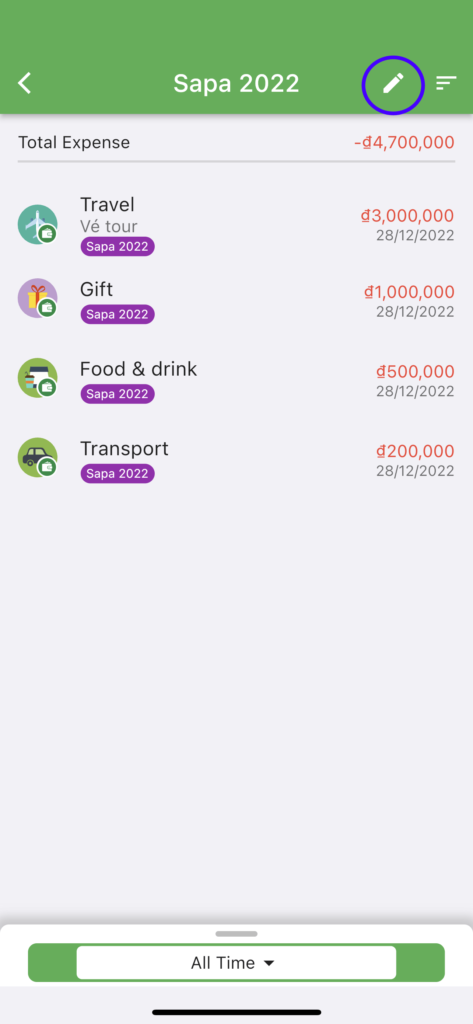
Example 2: You have an upcoming trip to Sapa and want to know how much that trip will cost. Create an event called Sapa 2022. The trip will take place between December 21st and December 28th. When you record expenses during the above period, the Sapa 2022 event will be automatically attached to the transaction. To find out how much that trip will cost, go to Others > Events > Sapa 2022.

There are two ways to create an event.
Method 1: You can create your event directly during the transaction creation process. Select Events from the transaction creation screen, then enter the name of the event you wish to create in the search box. If you enter an event name that does not exist, you will see a button to create an event. Click the button to create your event.

The advantage of creating events this way is that it is quick, but you won’t be able to customize Event properties such as color or travel mode. Method 2 below explains how to create a full event.
Method 2: Create an event by going to More > Events, then click the + icon, and fill in the event’s information, then clicking Save
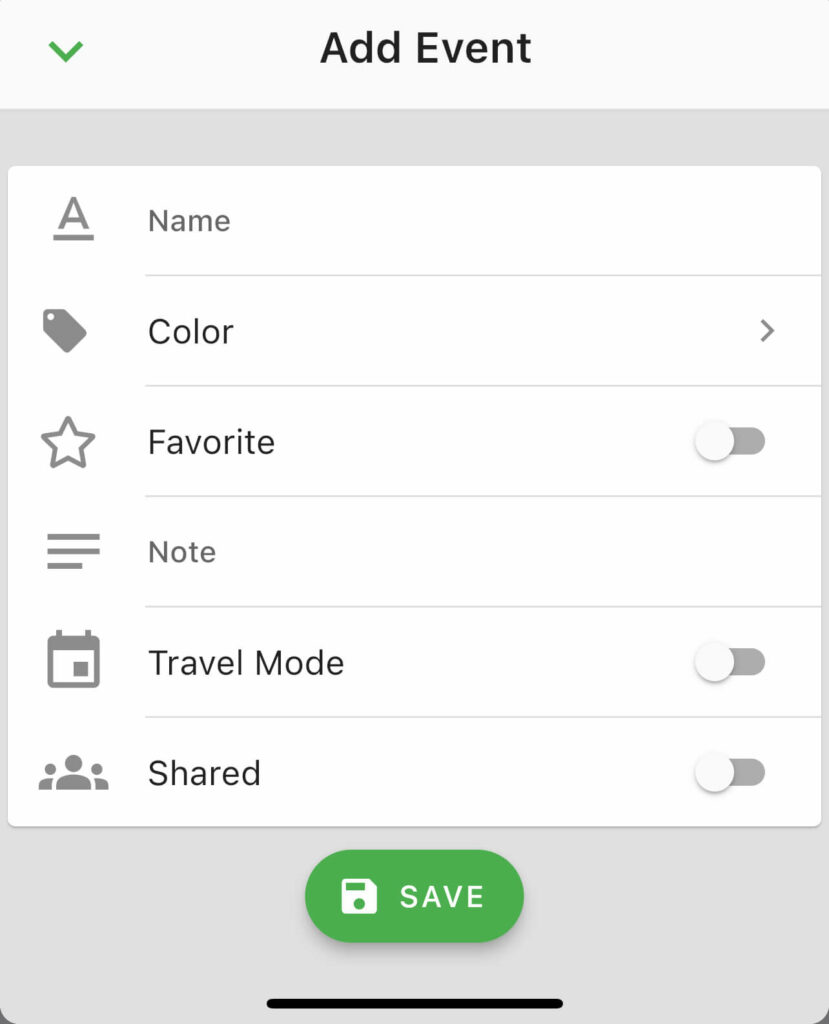
Here are the explanations of some fields:
Favorite: Select this to mark this as a frequently used event. In the event list, the favorite events will appear before the unfavorite events.
Shared: To share this event with others. The group’s members can see the shared events and attach them to their transactions. A good example is a couple traveling together; a person can create an event and share it for the other to use. Then the other one can use that event to attach to his transactions. Later, when reviewing the report, they can see the total cost they spent on that trip.
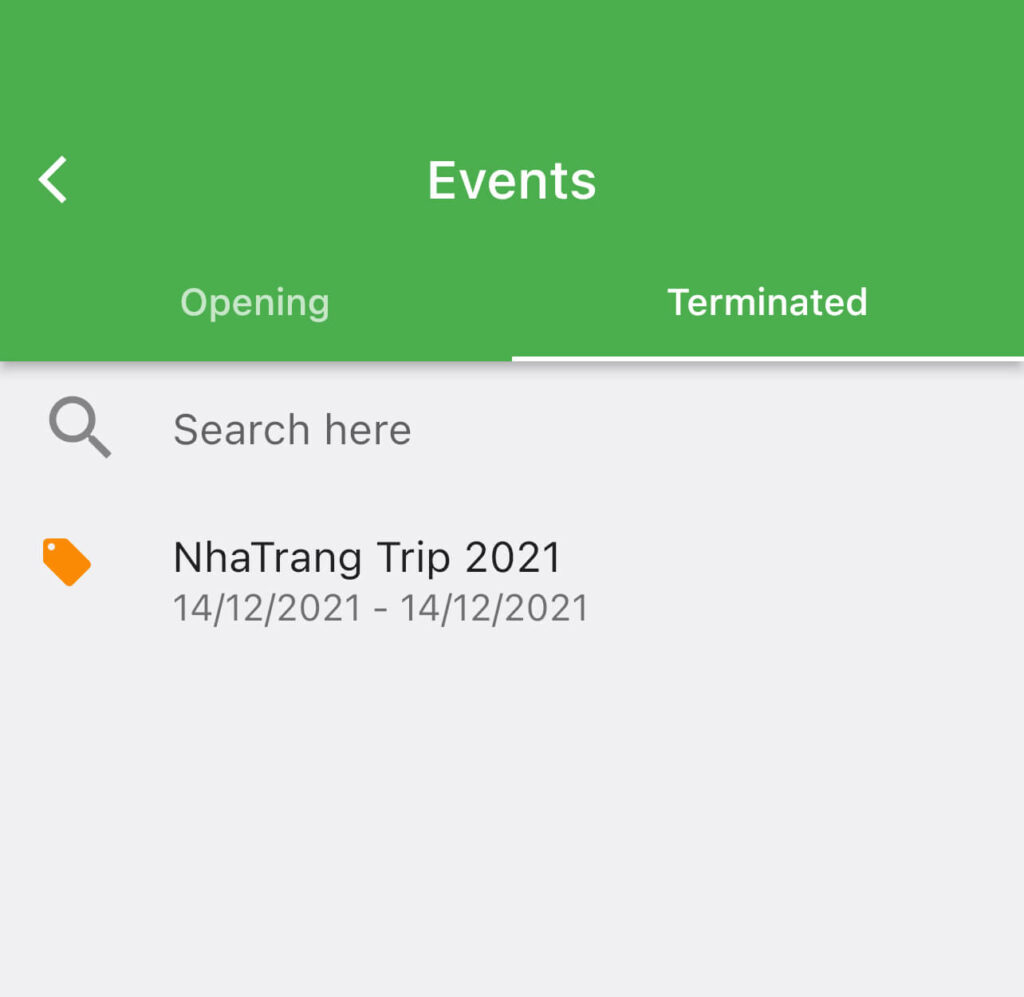
Travel Mode: When travel mode is on, you choose the period when the event occurs. When you create any transaction, if the transaction is within the time of the event, the event will be automatically attached to the transaction. In travel mode, the event will automatically close when it is over, and you can review the closed event in Terminated tab.
To edit the event or close the event, select the Pen icon.
To close an event, go to the event editor, then select the eye icon in the upper right corner.

So you already know how to use events; it’s that simple!